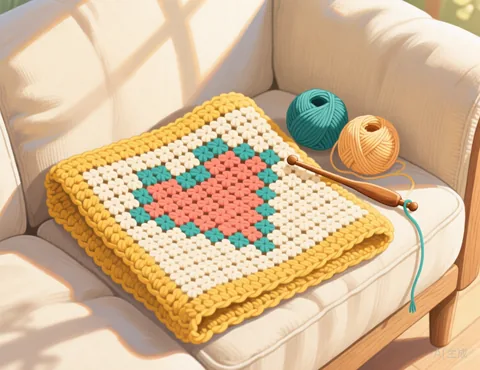
How to make a C2C graph from a photo
- Choose a photo or try the sample. Crop it close to the subject first, because empty background wastes tiles.
- Set the width in tiles. The height follows your photo's proportions automatically.
- Pick how many colours you want to work with. Most C2C blankets look great with 4 to 10 colours.
- Tidy it up. Keep "Clean up stray stitches" on Light or Strong, change any colour to match your yarn, and use the Brush to fix single tiles such as eyes or outlines.
- Download the PDF to get the graph, a colour key and the written pattern, or copy the instructions to your notes app.
How big will my blanket be?
Every square on the graph is one C2C tile. The finished size depends on your yarn, hook and tension, so the most reliable way to plan is a small swatch:
- Crochet a small square of about 10 × 10 tiles with the yarn and hook you plan to use.
- Measure it. Suppose 10 tiles measure 8 inches (20 cm).
- Multiply: a graph 60 tiles wide would then be about 60 ÷ 10 × 8 = 48 inches (120 cm) wide.
Work backwards the same way: if you want a 40 inch wide throw and 10 tiles measure 8 inches, set the width to about 40 ÷ 8 × 10 = 50 tiles.
How to read the written C2C pattern
A C2C piece is worked in diagonal rows, starting from one corner. The first rows grow by one tile each (increase rows). Once a row reaches the full width or height, the piece keeps one side straight while the other keeps growing; the instructions call this "increase one side, decrease the other". Finally, every row gets one tile shorter until you finish at the opposite corner (decrease rows).
Each line of the written pattern lists the colours of one diagonal row in order. For example Row 12 (increase, read upward, 12 tiles): 3 A, 2 B, 7 A means three tiles of colour A, then two of B, then seven of A. The note above the instructions tells you which corner the pattern starts from and which way each row is read, so pick the starting corner that matches how you crochet.
Tips for a great looking graph
- High contrast wins. Faces and pets come out best when the subject stands out clearly from the background.
- Fewer colours, fewer ends. Every colour change means more ends to weave in. Merge colours that look almost the same.
- Fix the important details by hand. Eyes, noses and outlines are often only one or two tiles wide. Turn clean up off or use the Brush to keep them crisp.
- Bigger graphs keep more detail. If a face looks blocky, add width. If the blanket would be too big, crop the photo tighter instead.
Frequently asked questions
Is it really free?
Yes. There is no sign up, no watermark and no limit on how many patterns you make.
Do you upload or keep my photo?
No. Your picture is processed by your own browser on your own device. It is never sent to our server, so we never see it.
Which pictures work best?
Simple pictures with clear shapes and strong contrast: a pet against a plain background, a logo you own, a cartoon, pixel art or a bold portrait. Busy scenes with lots of small details tend to turn into noisy charts. Crop the picture closely around the subject before you upload it.
Can I match the colours to my yarn?
Yes. Click any colour swatch under the chart and pick the colour of the yarn you actually have. You can also merge two colours that are too similar to tell apart.
Can I use any picture I find online?
Only use pictures you have the right to use: your own photos, or images whose licence allows it. Characters, logos and artwork usually belong to someone else.
What is the largest graph I can make?
Up to 150 tiles wide and 300 tiles tall. Large graphs are split into enlarged sections in the PDF so every tile stays readable.
Can I use this graph for other stitches?
Yes. Any square stitch works: C2C with double crochet, half double crochet or mini C2C, and even pixel style knitting or cross stitch. Only the written diagonal rows are specific to C2C.